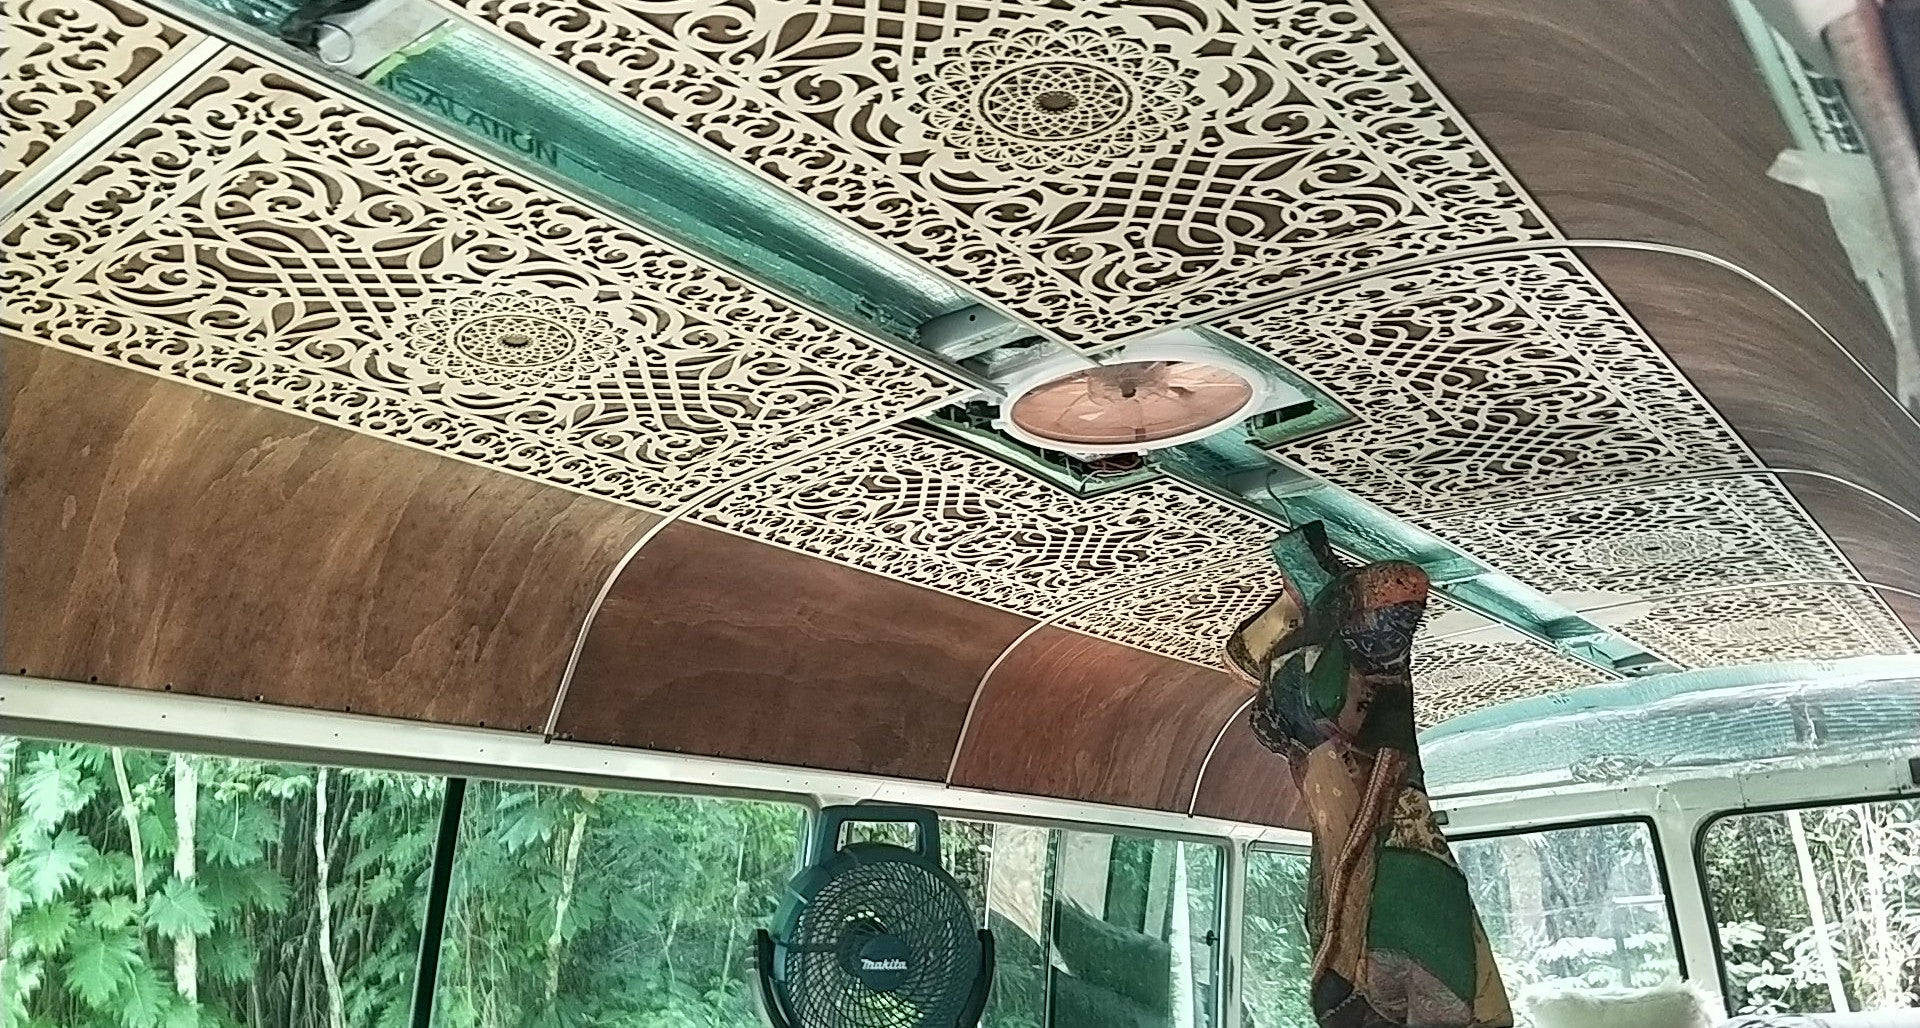
Tired of seeing the same boring pine panelling in bus and van conversions, it was decided that the Bus needed a more interesting and unique ceiling. After many months of brainstorming and research we decided to attempt a laser cut roof design (something that we had not seen done before). And so the foray into lasers began and with it an extensive learning journey.
Different types of CAD software had to be learnt in order to create the design for the ceiling, as well as how laser cutters work and the different parameters needed for different materials. We had to decide on what medium to use, how to affix it, how to accomodate the curved shape of the bus roof, and how to seal it. We also had to experiment with different joining and edging techniques. It took close to a year from initial concept to installation, but we couldn’t be happier with the amount of knowledge gained and the path that it has sent us down.